Users and Clients
Quick Links:
Depending on your administration permission level you can view, add and delete users, as well as edit the information for each independent record of a user. You can also view your client's related users, sites, assets, channels and reports by clicking the show related button in the Clients section.
Working with users
There are four types of users in the system, each with their own permission levels. Depending on your permissions, you will be able to do different things in the system. The four permission levels are: admin, client admin, client user and end user. The admin level of permission is reserved for system admins who need to set up new client accounts or migrate bulk data.
How to add a new user:
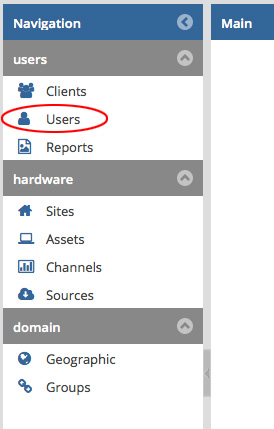
- In the navigation panel click on Users.
- Click on the add button at the top of the centre panel.
- Fill in your new user's details in the properties panel on the right.
When creating a new user, be sure to fill in all their required fields in the properties panel:
- Firstly, specify which client the user belongs to in the 'Client' field.
- Then, specify which user group the user belongs to in the 'Usergroup' field. The chosen user group will determine your new user's permission levels in the system. For example, if they have administrator rights, or if they can just view data for your client.
- Next fill in your new user's username and password. This will be their username and password for logging into Zednet.
- Make sure you also provide an email address and a name for your new user.
- Finally, specify whether your new new user is an active user. This option allows you to deactivate users that no longer have access to Zednet or are no longer affiliated with your client.
- When you're done click the save button to save your new user.

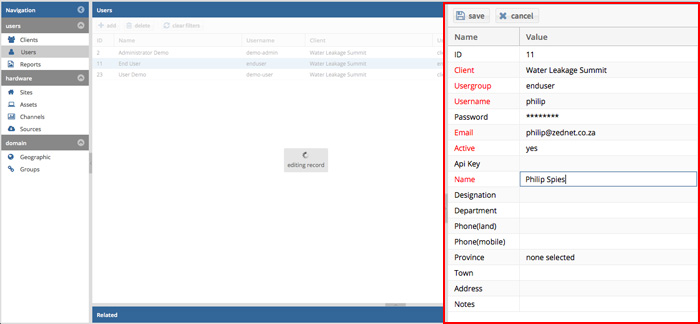
Creating a new end user by filling out their details in the properties panel
Note on the API Key: When creating or editing a user, you will notice the 'API Key' field. In the 'API Key' field you can assign a key to a user which allows them to access the Data Export API. API Keys should only be assigned to client-user level users, as it is not secure enough to allow for editing. With the Data Export API, a user can then use their API Key to download channel data directly by simply typing a URL into the address bar of their browser. See the Data Export API section of this documentation for more information on how it works.
Note: All fields marked in red in the properties panel are required fields and you will not be able to save a record if you do not complete all its required fields. For example, a user will always need to be affiliated to one of your clients. Therefore, you can not leave the 'client' field blank when creating or editing a user. Optional fields for users include their phone numbers and physical address.
How to edit or delete an existing user:
- Click on Users in the navigation panel.
- To edit an existing user, select the user you would like to edit and change their information in the properties panel. When you're done click the save button in the properties panel to finalise your changes. If you would like to cancel your changes simply press the cancel button.
- To delete an existing user, select the user you would like to remove and then click the delete button at the top of the centre panel. Press the yes button to confirm your deletion.